A Piece of Toast! Scroll Saw Pattern for Play Food
November 25, 2008 by build
Filed under featured, Play Food, Scroll-saw, Toys, Toys and Games, Woodworking
Pretend play is great for the imagination of both kids and parents. If you would like to join in on the creativity of play food feel free to download our template to cut a piece of toast from a piece of scrap lumber.
Print out the pattern (feel free to scale it to the size you believe best) and attach it to your piece of scrap wood. There are many ways that you can attach it to the wood such as with double face tape, spray adhesive, carbon paper or iron on transfer paper.
Below is the piece of toast I cut using the scroll saw pattern.
The Stove is Finished!!!!!
January 5, 2008 by build
Filed under Toys, Woodworking
The stove that I posted a hand drawing of in the Putting Ideas on Paper posting is finally finished. And my daughter loves it! I took a lot of pictures while building it and I will post just exactly how I built the stove during future postings. I just had to put up a picture of the completed project because I am so excited about how great it turned out!!!
Putting Ideas on Paper!
We all have lots of ideas of things that we would like to build or projects that we would like to do, but it can be very difficult to take the idea and turn it into something real. In order to take the idea that is floating around in my head and give it a physical formI always start a project with a quick hand sketch. I have attached the sketch of one the projects that I am currently working on, a children’s play stove. As you can see it is rudimentary, no dimensions and it is not to scale. But, it does provide a clear illustration of what I want to build and it gives me a starting point I from which to refine the design. In a month or two when the stove project is finished you can check back and see how much my play stove actually looks like its prototype sketch.
Paint The Wood Truck!
October 19, 2007 by build
Filed under Toys, Woodworking
To add a little flair to the toy truck from the previous posting, we are going to paint it and add a couple of highlight pieces made from a few other scraps lying around the shop.
To paint the truck I used the inexpensive tubes of acrylic paint that can be found at most craft stores.
I painted the body of the truck a crimson red. In order to paint all sides and let them dry at once I left screws in the holes for the front wheels and hung it from my worktable as seen in the photo below.
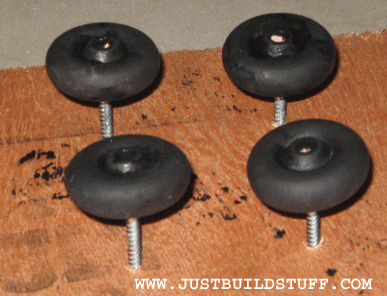
I painted the wheels black and to let them dry I set them on top of four screws that I ran into a scrap piece of plywood.
I decided that to flair the project up a little that I would add a bumper made from piece of scrap wood that was just lying on the floor of my shop. I painted the bumper grey. I also had a ½” dowel that I cut two small pieces from and these pieces are the headlights. I painted the headlights white.
After all of the parts were dry, I assembled them into the final truck. I screwed the wheels back on and used brad nails and glue to attach the bumper and glue to attach the headlights.
It was a fun and inexpensive toy project to build and there are many more customizations and improvements that can be made to the truck to make it even better. Thanks for reading www.justbuildstuff.com.
Build a Toy Truck From Scrap Wood!
October 18, 2007 by Kurtis
Filed under Toys, Woodworking
The inspiration for this project was the scrap piece of 2 X 4 shown in the photo below. I wanted to try to think of something fun to use it for and the idea of turning it into a toy truck struck me.
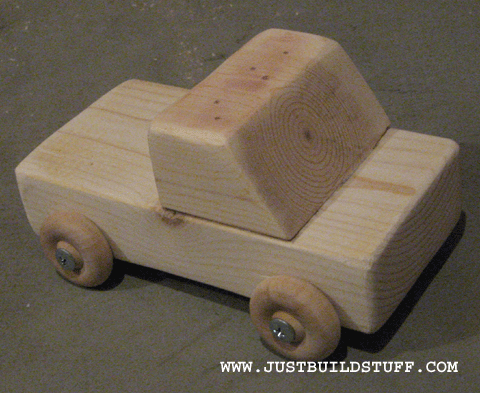
To build this toy truck the first thing I did was to make a 30 degree miter cut at one end of the 2 X 4. Then I made a straight 90 degree cut about 1.5 inches back from that. The last cut I made was to make a 7 inch long block to be used as the base of the truck. The photo below should offer some clarification with the smaller mitered piece (the cab) sitting on top of the base piece.
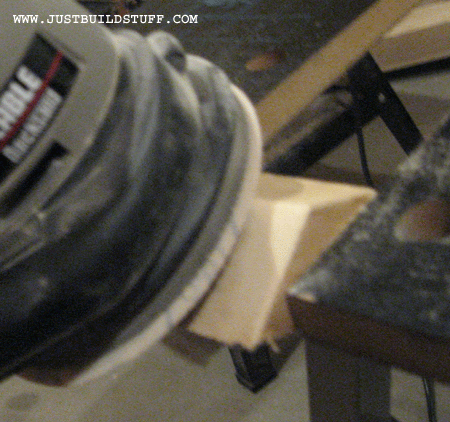
To clean up the pieces and remove the possiblities of slivers I sanded the boards smooth with my random orbit sander and 100 grit sand paper.

After I finished sanding I placed the cab block about 1.25 inches back from the front of the base. I then glued and nailed it down to the base using wood glue and 2 inch brad nails.
Now that the body of the truck is ready, it’s time to add the wheels. The wheels are just 1.5″ wooden wheels that can be found at most craft stores. I attached them using #8 whasher head screws
.
In the next posting we will give the truck a paint job!


