
How I Made a Yard Dice Game
August 11, 2017 by Kurtis
Filed under build, featured, Games, Toys and Games, Woodworking
On a recent camping trip we met some new friends that had a set of large wooden dice. After playing with these while out camping I just had to make a set of my own. I decided I would make a set of 5 dice so we could play games like Yatzee.
I thought I had a 4 x 4 laying around at home but alas I did not. The only place I could find a 4 x 4 that was not treated was my local Menards. It was about $8 for a 8’ piece of white wood.

A 4 x 4 actually measures about 3.5 x 3.5 so I cut off 3.5 inch blocks from the end of the timber.

After cutting the blocks I took them over to the router to round the straight cut edges

Now it’s time to start drilling the holes on the die faces.
To locate the holes I modeled and 3d printed a drilling template to help save some time. This was not necessary, it was mostly just to give my 3d printer some work and to practice modeling in Fusion 360. The model for the template is available by clicking here and it is also available on thingiverse (https://www.thingiverse.com/thing:2474953).

First I marked how many holes to drill in the open box of the template. I matched the holes from an existing die. I later learned that the sum of a side and the opposite side should equal 7 for every side of the die…. Interesting.

With the numbers marked I was able to just flip the die and know how many holes to drill without having to check the other sides every time.

Now to add some contrast I took a permanent marker and filled in all the holes. This could also be paint, but permanent marker sounded easiest.

Now I sanded the each side of the die to make sure there would not be any slivers and rough edges. Sanding also allowed me to clean up some of the black marker accidents that did not stain the wood too badly.

The last step is optional, I ended up making a few sets and experimented with applying some finish to one set of dice. I used this polycrylic spray I had left over from another project. I think it adds a little to the looks of the dice and probably helps keep the surface of the wood protected.

Now that the dice are complete a round of yard dice was in order. My family just with Yatzee rules, my daughter also wants to try using a sixth die and attempting to play Farkle.

If you know of any other games that are fun to play leave a suggestion below in the comment section.
How I Make Scroll Saw Name Puzzle Patterns
January 20, 2016 by Kurtis
Filed under build, Crafts, Scroll-saw, Toys, Woodworking
I made a few scroll saw name puzzles recently and I thought I would show you how I make them.
(link to video on youtube https://youtu.be/s8K6HgG7Iv4)
First I create a new word document. I then type in the name I want to cut and change the page orientation to landscape. I then highlight the text set it to 250 pt, right click on it and select font. Under the advanced menu I select condensed, and 30 pt. You will have to adjust the amount you condense the font based upon the size and type of font used.

I right click on the word again and select font. This time I click “Text Effects” and choose no fill.

I thin chose a solid black outline.
I print the name out and draw in the puzzle bubbles by hand.
I spray adhesive on the back of the pattern and let it dry about 5 minutes till it’s tacky.
I then press the pattern on a scrap of wood.
I use my scroll saw to cut out the letters.

I sand the letters by hand till I am happy with the finish.

How to Make Beeswax Wood Finish
January 31, 2015 by Kurtis
Filed under build, featured, Refinish/Remodel, Woodworking
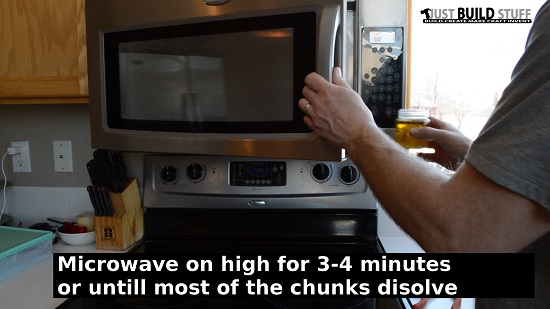
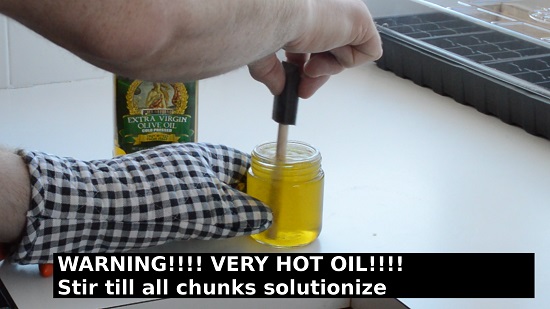
In this video I show how I make a beeswax paste finish for my woodworking projects using beeswax and olive oil.
The ingredients I use are-
1 Cup of extra virgin olive oil
1 oz stick of beeswax (link to Amazon)
1 microwave safe container, (I use a jar that used to have Wylers Chicken Bullion Cubes) (link to Amazon)

How to Cut Wooden Wheels with a Drill Press and Hole Saw
January 27, 2015 by Kurtis
Filed under featured, Toys, Toys and Games, Woodworking
In this video I go over making wooden wheels with a drill press.
These wheels are the kind I use for the toys in the How to Make Wooden Farm Toys Book.
And for the toys on the downloadable plans page.
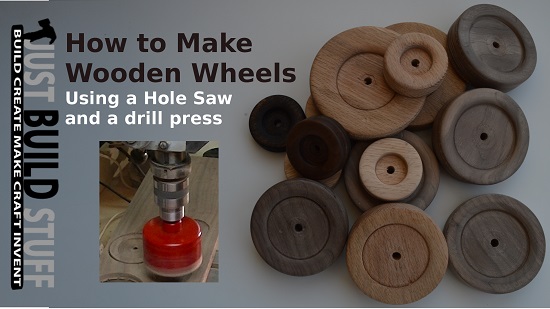
First I use a forstner bit to make an inset for the center. This is cosmetic, the forstner bit should be smaller than the final diamter of the wheel you are cutting.
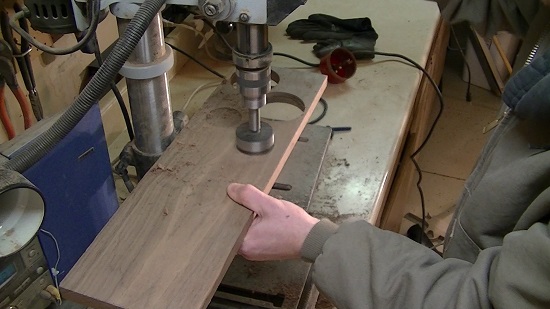
I cut out the wheel with a hole saw, the hole saw size should be about 1/4″ bigger than the size of wheel you want to cut out. This is because the hole saw is sized for its outside diameter and the wheel you cut will be the inside diameter. Take care to drill safely and slowly and follow all the manufacturer recommendations for your tools and equipment.

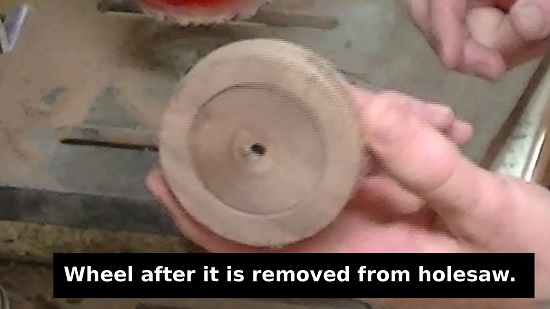
After the wheel is cut on the hole saw it is very rough. I run a quarter inch bolt through the wheel so I can chuck the wheel in the drill press for sanding.


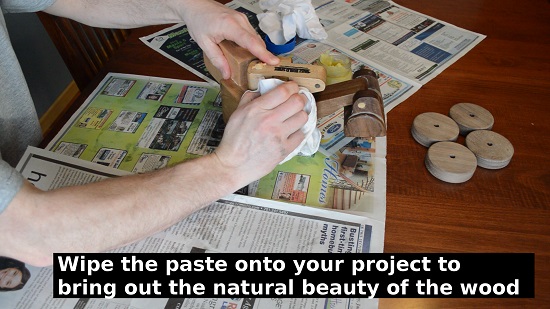
I finish my toy wheels using a beeswax/oil finish or just a cutting board/mineral oil finish.

The wheels are attached to the toy using axle pegs I purchase from Amazon or other craft part sources like craftparts.com.

Flower Coat Hook Pattern
September 23, 2009 by build
Filed under Crafts, Scroll-saw, Woodworking
After the article “Paint the Flowers on the Wall” we have had some interest in the pattern to make one of these flower coat hooks. I made a pattern and some instructions to cut out one of these flower hooks yourself you can download a pdf of the plans by clicking here or on the image below.

Remember to drill the center to 1/2 inch diameter and to glue and pound in a
3 1/2 inch shaker peg as seen in the photo below.
Add some hanging hooks to the back and you will have nice flower coat hook.
