How to Make a Doll Sleeping Bag
My daughter’s dolly needed a warm place to sleep, so we went to our scrap fabric drawer and pulled out a scrap of fleece with a fun pattern larger enough to fit the doll. We placed Anna (the doll’s name) on the fabric and sized it to her.
You can see below that we folded the fabric to create a bag on the bottom for the doll to sleep in and into a space for a pillow on the top.
Now make sure that the fabric is inside out and all the edges are straight with the openings folded over approximately 1/4 inch. Now it’s time to dig out the sewing machine. (I don’t have much of a sewing machine, but it gets the job done. It’s a Shark Mini Sewing Machine and they cost around $20.) Sew each side of the sleeping bag two times for a little extra stregth.
Next I used fabric glue to glue the lip down.
We then flipped the sleeping bag right side out and commenced to stuff the pillow area with some excess fabric in order to make a fluffier pillow.
Finally we glued the seams of the pillow area together the same way that we glued the lip on the other side and the dolly had a warm place to sleep.
Toy Saw Pattern and Instructions
December 13, 2008 by build
Filed under featured, Ramblings, Scroll-saw, Toy Tools, Toys, Toys and Games, Woodworking
Even a kids toolbox is not complete without a good saw. For filling out that toddler toolbox you can download our pattern and cut one on yourself.
This toy saw can be made from a scrap of 1/4″ plywood or any other 1/4″ thick material you choose. It consists of three pieces easily cut on a scroll saw. Click here or on the picture below to downoad a free pdf of the pattern with instructions and then you can follow along with the pictures below to see how I made mine.
You can see in the picture below I cut the three parts of the saw from an 8″ X 10″ piece of scrap 1/4″ plywood.
I then glued and clamped the boards together. I used Gorilla Wood glue, but any polyurethane wood glue should work fine. Make sure to remember to use a piece of scrap material under the clamps as to not dent the wood.
Finally I hand sanded the saw to 220 grit. You can finish the saw with the child safe finish of your choice or you can leave the toy unfinished.
Thanks for viewing this project. Please leave any questions, problems and comments you have below.
Design of fridge
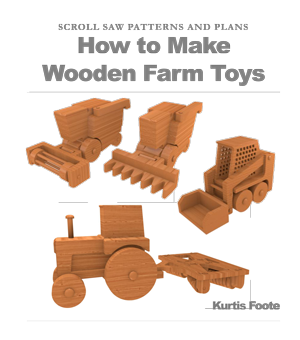
New Toy Tractor!
I just finished a prototype of a toy tractor. In the next few weeks I will have the complete project and maybe some video posted.
How To Build a House
This is a very interesting video about homebuilding that I found on archive.org


