Carve A Pumpkin!
After getting lots of candy, carving a pumpkin is definitely the funnest part of Halloween. This year our www.justbuildstuff.com pumpkin is pretty simple, we just carved the phrase “Trick or Treat?” into the pumpkin.
To make the pattern used to cut the words from, we printed out the words on a sheet of 8.5″ X 11″ paper (you can pick the font and size to suit your own tastes). Then we taped the words to the pumpkin.
To give us an outline on the pumpkin to cut from we poked holes through the paper to leave a pattern that we could cut along. After we poke the hole, we use a little saw and a knife to cut the letters out.
After all the letters are cut we clean out the inside of the pumpkin, saving the seeds for roasting, then we put a light inside the pumpkin and watch it glow!
Blog Action Day
In recognition of Blog Action Day www.justbuildstuff.com would like to list some ideas for environmentally friendly building that everyone can and should be doing.
- Reuse scrap from previous projects and turn them into something useful instead of sending them to a land fill. You can refer to this posting for one idea.
- Use something you would normally throw away or send to the recycling center in a new or fun way like the Ghost Milk Jugs.
- Use hand tools, they don’t use electricity.
- Dispose of waste appropriately, especially used chemicals and oils.
- Restore old furniture instead of buying new. Check out our recover a stool project for an example.
These are just a few ideas, there are many more ways to be an environmentally friendly builder. Keep building, having fun and reading www.justbuildstuff.com
Steps to Produce a Project
Below are the steps that I follow when I am planning to build something.
- Start with an idea of what you want.
- Study similar things, Look at existing product designs, other types of furniture, or anything that exists in nature for inspiration
- Make a quick sketch of the idea
- Ask for input
- Refine the Sketch
- Add Dimensions
- Choose Materials
- Start building and having fun
- Finish and enjoy
During our future projects I hope to lay out some examples of early planning stages.
Fun With ABC Bath Toys!- A Foam Alphabet
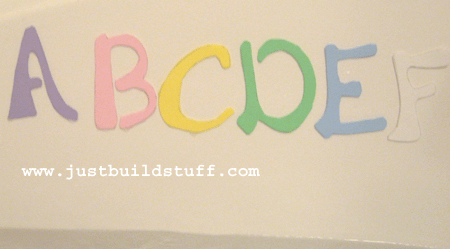
My daughter loves to take baths. There are times when she is so crabby it seems nothing will make her happy, but when I put her in the tub she is singing like a lark in no time. Perhaps this is because she loves her bath toys so much. One of her favorite bath toys is something I created in an afternoon – a foam alphabet.
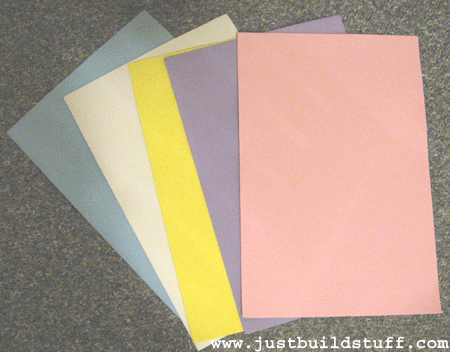
To make this project I used several different colored sheets of foam (shown below) that can be purchased from amazon.com or your local craft store, a scissors, a pencil and some stencils. Not everyone will need the stencils – I used them because my handwriting is terrible. My daughter loves to get the foam wet and stick it on the tub walls. She has even used her foam letters to make “alphabet soup”. I love this toy because it gives her a great learning opportunity.
I plan to make more foam toys for the tub such as foam numbers, shapes, animals and maybe even some “paper” dolls. Let your imagination decide what kind of bath toys you want to make!
When You’ve Got Scraps, Make Blocks!
Building should not require a lot of money. In fact, I try to do my justbuildstuff.com projects without spending any money if possible. I think this is better for both the environment and for my wallet.
A fun example is to save all the little scraps of wood you find when cleaning up your shop floor after a project and use them as building blocks for children. You probably want to sand the pieces to eliminate the possibility of slivers and get rid of the sharp corners. For a little extra pizazz you can also paint and finish the blocks to make them look a little spiffier. They end up being a unique and fun toy that can help to build creativity skills and the all important building skills.


